How to Improve Your Photographs

With these easy tips and tricks you may drastically improve your photographs.

Look your subject in the eye! Get down to eye level with the subject that you are taking the photos of. You will gain a more effective emotion and personality to your photo. If you are taking pictures of a child, get down to there height and look them in the eyes through the view finder. Instead of standing above and making them look vulnerable and helpless you are at their height and level and It will instantly help you in the long run. Tip: You can also move in close, it directs your eye to the subject.

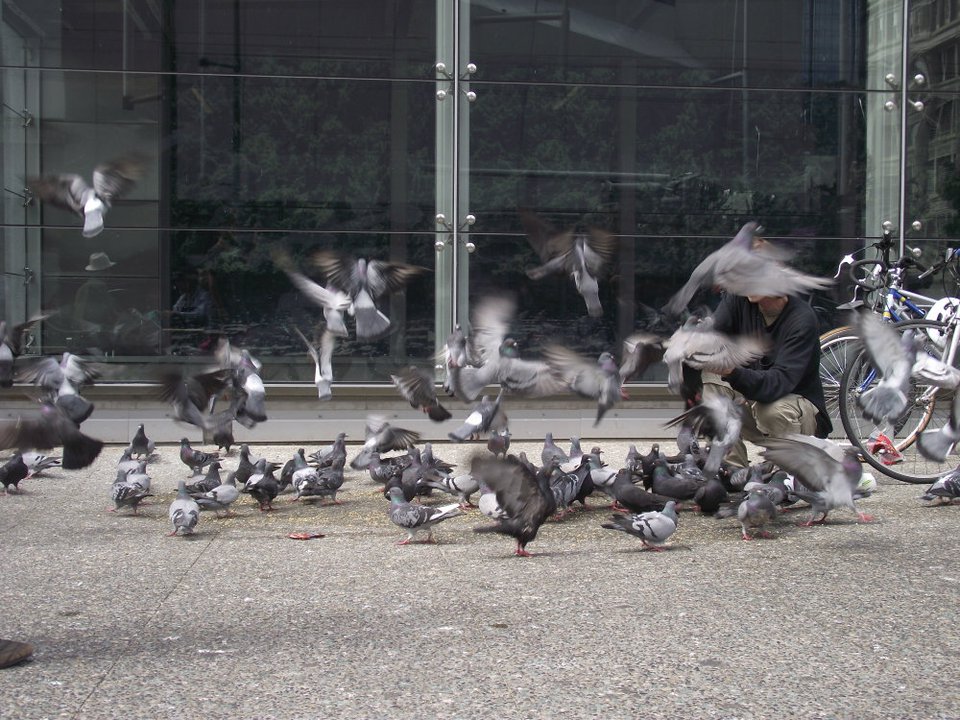
Use a plain background! You do not want to be distracted from viewing the subject because of a tree sprouting out of your subjects head or it looking like they are going to get run over by the cruise ship in the background. Position your subject against a plain back ground or one without intrusive objects distracting you in the background.

Use flash outdoors! If you take a photograph where the sun is directly behind the object you will have a very dark person with an over exposed back ground. Turn the flash on and move your subject slightly beside the bright light source and shoot. The subject will become visible and lit, as opposed to dark and silhouetted.

Move it from the middle! The subject you are capturing is your focus point of the picture. Although, if the camera is angle is changed and the subject is positioned towards either the left or right side of the photo you gain a perspective and more of a setting. The subject stands out and you have more of a view of the surroundings. It captures the eye.

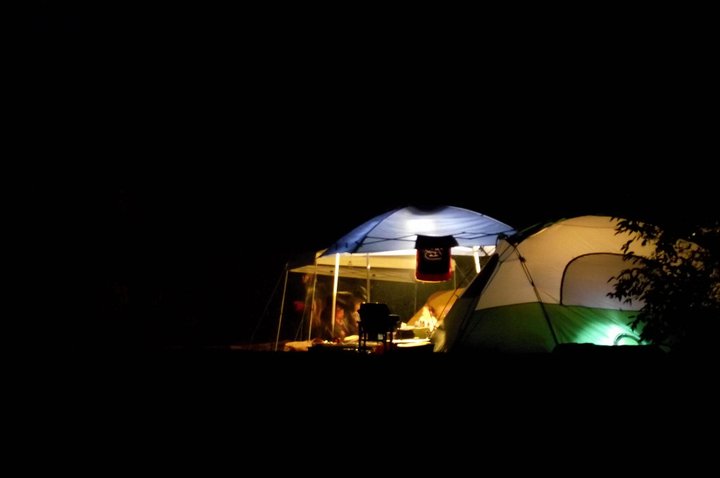
Watch your light and know your flash range! Using different light; angles, shadows and different natural light hues like at dusk or dawn personalizes and enhances your photo. (i.e. sun coming through the trees across the subjects face shows a summer-like warm feeling ~or~ look towards the sunset with flash off and capture the pinkie hues against your subject for a relaxing calm mood.) Know your flash range, a flash only reaches so far. if your subject is set too far back they will be too dark take a couple steps closer and try again until your subject it lit properly.

Take vertical photos! Switch it up, and take vertical and horizontal photos.You can capture more in the frame with the different angles and views.


“A picture is a secret about a secret, the more it tells you the less you know.”
Diane Arbus

Samples of Auto-Modes

Portrait

Image


This picture was taken last summer with the portrait mode on my camera. It is not a new photo but it is one of my best taken portraits. It was taken with the self timer and zoom on my camera which was on a mini portable tripod on the ground. I didn’t know that I had hit the capture button and it caught me texting and in the middle of a sentence speaking to some friends. So try taking spontaneous photos. Sometimes they come out the best. The subject it the photo is more relxed and easy going. they are comfortable therefore they will not be tenced up with a fake smile.

Landscape

Here is a postcard worthy shot of the White Rock Beach marina. It was taken with the landscape mode this weekend at the end of the pier. The reflection of the warm sun out lining the shiloettes of the boats sitting in the sea.

Image


Close-up (macro)

A flower that my landlady got in a bouquet today. I took it outside for natural light and used a warm filter.

Image 

Image

Sports Mode

Sports mode is perfect for taking pictures of flocks of birds or things moving fast. The shutter speed is super quick so there is no blur and you can catch anything.

Image


Night Shot

The first picture here is taken on night mode last summer. The night mode with the flash off has a slightly longer shutter speed.

Image


This was taking with the manual night mode and I lengthened the shutter speed so i only used the light from the fire.

Image


Flash-off

I used the flash-off mode here while taking this picture of my by friend and his furry little friend. 
I wished for the focus to be on my boy friends face. But i enjoy it a little more with the focal point as the sweater. The warm glow with a sweet little smile, a fluffy cat and the attention to detail on the fabric reminds me of fresh linen and sun coming through some opaque drapes on the brightest day of the year. By far it is one of my favorite photos Ive taken in a long time.

Image  


Simple Focasing

Image

Lets get simple here. I focused the lens on the dimpled skin of a navel orange. The first shot is never perfect and you have to try a couple times when you first begin.

Were going to get a little more technical here. Although its still very simple. I focused in on my hamsters little tiny paws to show how small and fury he is. the fur is also focused on his back and up towards he head so you can see the thin sleek , young pelt that Cheech still has.

Image

And just to finish it off, here is a snuggled up Diesel sprawled out on my couch doing what he does best. I focused the lenses center point on his nose and blurred the paw to show how out stretched he is.

DSC_0453

Examples of Different Shots

Here’s my wide angle shot taken on the stair case up to the Lonsdale Quay look out point, in  North Vancouver.

Image

A medium shot is taken from the waist up. This is my friend Token Koby. What a wonderful pose.

Image

A close up of a person, portrait or head shot, shows mainly just the head from the chin to the mid-forehead. Meet Christy. The warm filter on the lens along with the natural glow of the sun on her face give the picture a very warm and happy appearance to the photo.

321018_513401498682742_1582795409_n